Step-by-Step Plate Heat Exchanger Installation Guide for Reliable Operation
This practical guide walks you through the critical steps for installing a plate heat exchanger in industrial process systems. Whether you are replacing an existing unit or commissioning new equipment, proper installation directly impacts thermal performance, maintenance intervals, and equipment lifespan. We cover foundation preparation, piping connections, gasket handling, and leak testing — all based on field-proven practices from SHPHE, a Shanghai-based manufacturer with ISO9001 and ASME U certifications.
Why Proper Installation Matters for Plate Heat Exchangers
A plate heat exchanger is a compact, high-efficiency device that transfers heat between two fluids through a series of corrugated plates. If installed incorrectly, you risk cross-contamination, reduced heat transfer rates, or premature gasket failure. For process engineers and purchasing managers, understanding the installation sequence helps avoid costly downtime. This plate heat exchanger installation guide covers everything from site preparation to final commissioning, ensuring your system operates reliably from day one.
What Are the Key Steps in Plate Heat Exchanger Installation?
Installing a plate heat exchanger involves several distinct stages. Each step must be executed with care to maintain the unit's integrity and performance. Below is a breakdown of the essential steps.
1. Site Preparation and Foundation
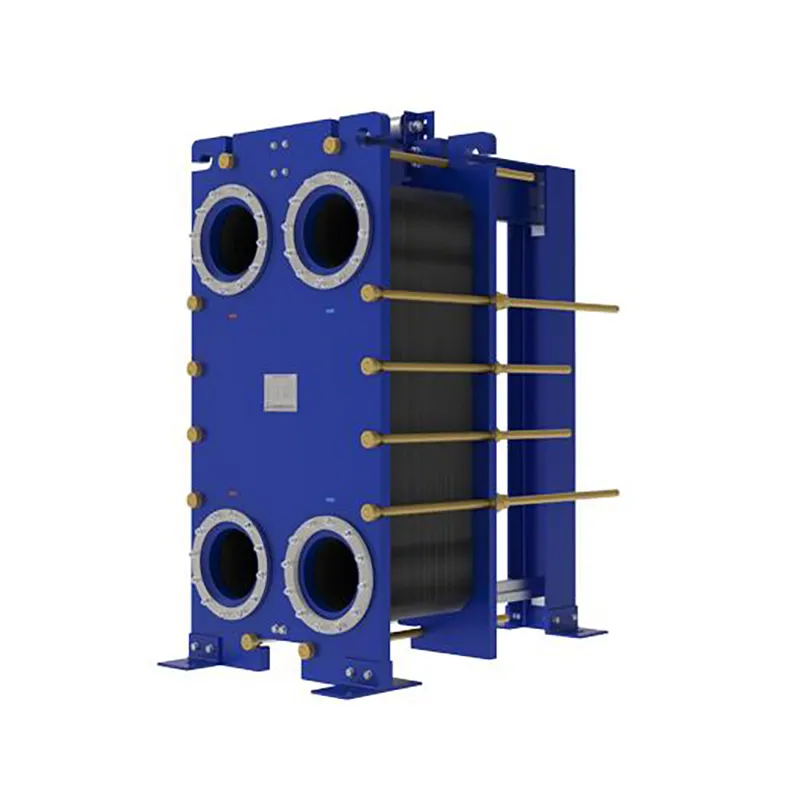
Ensure the installation area is level and can support the weight of the heat exchanger when filled with fluid. For gasketed plate heat exchangers, allow sufficient clearance on the tightening side for plate removal. A concrete pad or steel frame is recommended. Check that the foundation is free from vibration sources that could loosen connections over time.
2. Lifting and Positioning
Use lifting lugs or spreader bars to avoid damaging the frame. Position the unit so that the fixed end (where connections are located) aligns with your piping layout. Never lift by the plate pack or nozzles. For larger units, consult the manufacturer's lifting diagram — SHPHE provides detailed drawings with every shipment.
3. Piping Connections
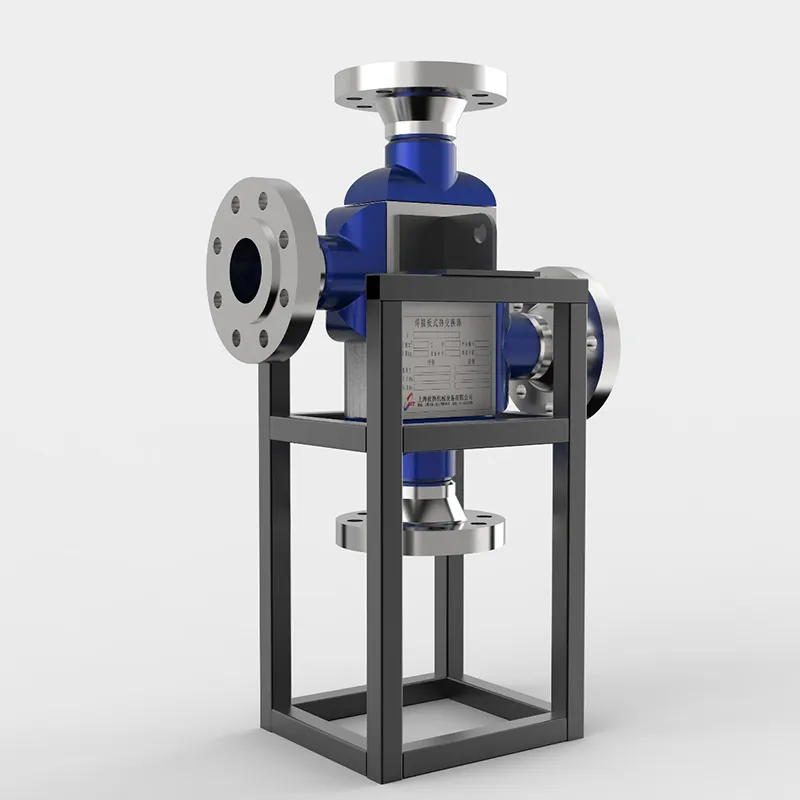
Connect pipes to the heat exchanger using flexible hoses or expansion joints to absorb thermal expansion and reduce stress on the nozzles. Follow the flow direction marked on the nameplate — countercurrent flow is standard for maximum efficiency. Tighten bolts to the torque values specified in the installation manual. For systems handling aggressive media, consider using a wide gap welded plate heat exchanger to prevent clogging.
4. Gasket and Plate Inspection
Before final assembly, inspect each gasket for cracks or deformation. Gaskets should be clean and properly seated in the gasket grooves. For gasketed plate heat exchangers, apply a thin layer of food-grade lubricant to the gasket surface if recommended by the supplier. Check that plates are free of dents or scratches that could cause leaks.
5. Tightening the Plate Pack
Use a torque wrench to tighten the tie bolts evenly in a crisscross pattern. The tightening dimension (plate pack length) is critical — over-tightening can damage plates, while under-tightening causes leakage. Refer to the assembly drawing for the correct dimension. SHPHE units include a tightening dimension tag on the frame.
6. Leak Testing and Commissioning
Perform a hydrostatic test at 1.3 times the design pressure to verify integrity. Gradually pressurize the system and check all gasket joints and nozzle connections for leaks. After testing, flush the unit with clean water to remove debris. Start the system at low flow and gradually increase to operating conditions while monitoring temperature and pressure.
How Do You Choose the Right Plate Heat Exchanger for Your Application?
Selecting the correct type of plate heat exchanger is essential for reliable operation. Consider the following factors:
- Fluid media: For viscous or fibrous fluids, a wide gap design prevents fouling.
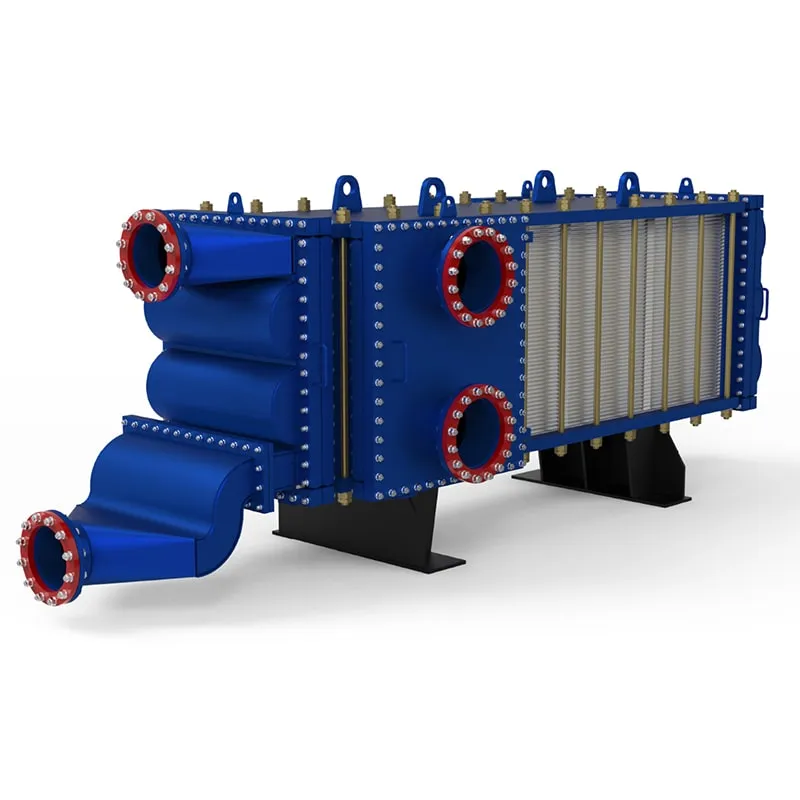
- Temperature and pressure: Welded plate heat exchangers handle higher limits than gasketed units.
- Maintenance frequency: Gasketed units allow easy plate access for cleaning.
- Space constraints: Compact designs like the HT-Bloc welded plate heat exchanger offer high surface area in a small footprint.
SHPHE offers free thermal design and selection service to match your process requirements.
Common Installation Mistakes to Avoid
Even experienced teams can make errors during installation. Here are the most frequent pitfalls:
- Using rigid piping connections that stress the nozzles.
- Ignoring the tightening dimension and over-compressing the plate pack.
- Installing the unit in a location with poor drainage or ventilation.
- Skipping the hydrostatic test before full operation.
- Mixing up flow connections for hot and cold fluids.
Following this plate heat exchanger installation guide helps you avoid these issues and ensures long-term reliability.
Why Choose SHPHE for Your Plate Heat Exchanger Needs?
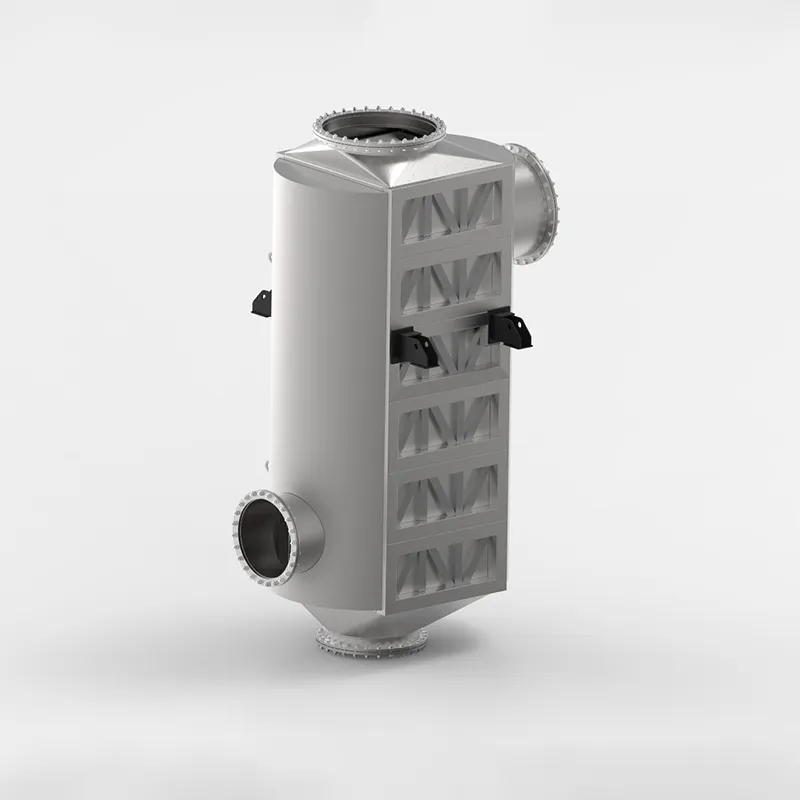
SHPHE has been manufacturing plate heat exchangers in Shanghai since 2005. Our product range includes gasketed, welded, wide gap, and specialized designs like printed circuit heat exchangers (PCHE) and plate air preheaters. We hold ISO9001 and ASME U certifications, and our units are exported to over 20 countries. Every heat exchanger comes with a detailed installation manual and free technical support. For applications requiring high temperature or pressure, our TP welded plate heat exchanger is a reliable alternative to brands like Alfa Laval or GEA.
Frequently Asked Questions About Plate Heat Exchanger Installation
Q: Can I install a plate heat exchanger outdoors?
Yes, but you must protect the unit from freezing and direct sunlight. Use a weatherproof enclosure or insulation jacket. SHPHE offers optional covers for outdoor installations.
Q: How often should I retighten the bolts after installation?
Retighten after the first 24 hours of operation, then after one week. After that, check during routine maintenance every 6 months. Always use a torque wrench.
Q: What is the typical tightening dimension for a gasketed plate heat exchanger?
It varies by model and plate count. Refer to the assembly drawing provided by the manufacturer. For SHPHE units, the dimension is stamped on the frame tag.
Q: Can I use a plate heat exchanger for steam heating?
Yes, but you need a design rated for steam service. Welded or semi-welded plate heat exchangers are preferred due to higher temperature and pressure capabilities.
Q: How do I clean the plates after installation?
For gasketed units, disassemble the plate pack and clean each plate with a soft brush and mild detergent. Avoid abrasive tools. For welded units, use chemical cleaning in place (CIP) systems.
Q: What spare parts should I keep on hand?
Keep a set of gaskets, a few spare plates, and tie bolt washers. SHPHE provides spare parts kits with every new unit.
Request a Quote for Your Plate Heat Exchanger Installation
To ensure your plate heat exchanger installation meets your process requirements, provide the following details when requesting a quote: flow rate, inlet and outlet temperatures, operating pressure, and fluid media. SHPHE offers free thermal design and selection service to help you choose the right unit. Contact our team with your project specifications, and we will respond with a tailored solution within 48 hours.
Following this plate heat exchanger installation guide will help you achieve reliable operation and maximize the lifespan of your equipment. With proper planning and adherence to these steps, your heat exchanger will perform efficiently for years to come.

 English EN





User Comments
Service Experience Sharing from Real Customers
Mike_HVAC
Lead Maintenance TechnicianI’ve installed a dozen of these over the past year for our apartment complex’s hydronic heating loops. This guide is a lifesaver—straightforward diagrams and torque specs saved me from overtightening the bolts. No leaks on the first startup, which is rare for me. Highly recommend for any facility guy.
SarahBrews
Process EngineerGood, practical guide. We used it to install a gasketed plate heat exchanger for a craft beer wort cooling loop. The section on gasket alignment and pressure drop calculations was spot on. Only wish it had a troubleshooting table for common plate damage. Still, got our system running in half a day.
Tommy_Rig
Offshore Mechanical TechnicianOut in the Gulf, you don’t get time to guess. This guide cut our offshore exchanger swap from 8 hours to under 5. The lifting and rigging tips were exactly what we needed for tight deck space. Printed it out, laminated it, and it’s now in the toolbox. Solid resource.
Elena_Chem
Lab Manager / Pilot Plant CoordinatorDecent enough for a basic install, but for a small pilot-scale unit (0.5 m² surface) I had to improvise on the mounting bracket instructions—they seemed written for a full-size industrial frame. The flow arrangement diagrams helped though. Not perfect, but got the job done with a bit of head-scratching.