What Are the Key Steps in a Proper Heat Exchanger Plate Cleaning Procedure?

Author: Industrial Maintenance Engineering Team

Jul-06-2026

A proper heat exchanger plate cleaning procedure begins with a thorough pre-operational inspection and safety preparations, including lockout/tagout of energy sources and verification of zero pressure and temperature. The next critical step involves dismantling and isolating the heat exchanger to gain full access to the plate pack, carefully documenting the plate arrangement for reassembly. Selection and application of appropriate cleaning agents and methods follow, where the choice between alkaline, acidic, or enzymatic cleaners depends on the type of fouling present, such as scale, organic deposits, or biofilms. Mechanical scrubbing of individual plates with soft bristle brushes or low-pressure water jets is then performed to remove stubborn residues without damaging the gaskets or plate surfaces. After thorough rinsing with clean water to eliminate all chemical traces, a post-cleaning inspection is conducted to check for plate damage, gasket integrity, and proper alignment. The final stage is reassembly of the plate pack with correct compression, followed by a comprehensive leak test using water or air at the designated operating pressure to ensure the system is sealed and ready for return to service. Adhering to these sequential steps ensures optimal heat transfer efficiency, extends equipment lifespan, and prevents cross-contamination in critical processes.

Pre-Operational Inspection and Safety Preparations Before Cleaning

1. System Isolation and Lockout/Tagout

Ensure the heat exchanger is completely isolated from all process lines. Close all inlet and outlet valves, and depressurize the system. Apply lockout/tagout procedures to prevent accidental startup during cleaning. Verify zero energy state by checking pressure gauges and drain points.

2. Personal Protective Equipment (PPE) Requirements

All personnel must wear appropriate PPE including chemical-resistant gloves, safety goggles, face shield, and protective clothing. If cleaning involves hazardous chemicals or high-pressure water, use a full-face respirator and rubber apron. Ensure PPE is inspected and fits properly before starting.

3. Ventilation and Atmospheric Monitoring

Confirm adequate ventilation in the work area. If cleaning inside a confined space, use forced-air ventilation and continuously monitor for oxygen levels, flammable gases, and toxic vapors. Maintain a gas detector at the entry point and ensure rescue equipment is readily available.

4. Cleaning Solution and Chemical Handling

Review the safety data sheet (SDS) for all cleaning chemicals. Prepare neutralization agents and spill containment kits. Mix cleaning solutions in well-ventilated areas, following manufacturer concentration guidelines. Never mix incompatible chemicals. Label all containers clearly.

5. Equipment and Tool Inspection

Inspect all cleaning equipment including pressure washers, hoses, nozzles, brushes, and circulation pumps for damage or wear. Verify electrical cords are grounded and free of cuts. Test emergency shut-off switches. Ensure all tools are rated for the intended pressure and chemical exposure.

6. Work Area Preparation and Signage

Clear the area around the heat exchanger of unnecessary items. Place warning signs and barriers to restrict unauthorized entry. Set up drip trays and drainage containment to capture runoff. Ensure emergency eyewash and shower stations are accessible and functional.

7. Pre-Cleaning Visual Inspection

Perform a thorough visual inspection of the heat exchanger plates, gaskets, and frame. Document any existing damage, corrosion, or fouling patterns. Check for loose bolts, misaligned plates, or leaking gaskets. This baseline helps evaluate cleaning effectiveness and identify potential issues.

8. Emergency Response Plan Review

Review the emergency response plan with all team members. Confirm communication methods, first aid kit location, and evacuation routes. Assign roles for spill response, injury, or equipment failure. Ensure a charged fire extinguisher rated for chemical fires is nearby.

For more detailed product specifications and engineering support, please refer to our technical resources: Gasketed Plate Heat Exchangers, TP Welded Plate Heat Exchanger, and HT Bloc Welded Plate Heat Exchanger.

Dismantling and Isolating the Heat Exchanger for Access

Proper isolation and dismantling are critical first steps to ensure safe and effective cleaning. Begin by shutting down the system and locking out energy sources. Disconnect all piping connections and remove the tie bolts carefully. Use appropriate lifting equipment to separate the fixed and movable frames, exposing the plate pack for thorough access.

After isolation, inspect the gaskets and plates for damage. Number or mark the plates for correct reassembly. Clean the sealing surfaces and ensure the frame is stable before proceeding to the next cleaning stage.

Selection and Application of Appropriate Cleaning Agents and Methods

Selecting the correct cleaning agent depends on the type of fouling present on the heat exchanger plates. Common deposits include scale, organic matter, grease, and corrosion by-products. The table below outlines recommended cleaning agents and their corresponding application methods.

Fouling Type Recommended Cleaning Agent Application Method Concentration / Temperature
Scale (calcium, lime) Phosphoric acid or citric acid Circulation cleaning 5-10% concentration, 50-60°C
Organic fouling (protein, biofilm) Sodium hydroxide (caustic soda) Soaking or circulation 2-5% solution, 60-80°C
Grease and oil deposits Alkaline degreaser or surfactant Spray and brush As per manufacturer, 40-60°C
Rust or corrosion products Oxalic acid or inhibited hydrochloric acid Circulation with inhibitor 3-8% concentration, 30-50°C

After selecting the appropriate agent, always perform a compatibility test on a small area of the plate. Ensure the cleaning solution is properly rinsed with demineralized water to avoid residual chemical attack. For detailed guidance on plate heat exchanger maintenance, refer to gasketed plate heat exchangers or TP welded plate heat exchangers product pages.

For heavily fouled plates, a two-step cleaning process may be required: first an alkaline soak to remove organics, followed by an acid wash for scale removal. Always follow safety guidelines when handling chemicals. More information on specialized designs is available at custom engineered plate air preheaters and wide gap welded plate heat exchangers.

Proper cleaning restores heat transfer efficiency and extends equipment life. For advanced applications, consider HT Bloc welded plate heat exchangers or printed circuit heat exchangers for robust performance.

Mechanical Scrubbing and Rinsing of Individual Plates

After soaking, each plate requires manual or mechanical scrubbing to remove stubborn deposits. Use a soft-bristle brush or non-abrasive pad to avoid damaging the plate surface. Work in the direction of the gasket grooves to prevent debris from lodging in critical sealing areas.

Plate scrubbing process

Once scrubbed, rinse each plate thoroughly with clean, low-pressure water to remove all loosened contaminants and cleaning solution residue. Pay special attention to the gasket grooves and port openings. Inspect the plate surface under good lighting to confirm cleanliness before reassembly.

For detailed guidance on plate handling and gasket care, refer to the gasketed plate heat exchanger product page.

Post-Cleaning Inspection

After the cleaning process is complete, a thorough visual inspection of each plate is essential. Check for any residual scale, pitting, or surface damage that could compromise heat transfer efficiency. Use a bright light source to examine both sides of the plates, paying special attention to gasket grooves and sealing surfaces. Any plates showing signs of corrosion or deformation should be flagged for replacement. For detailed product specifications, refer to our gasketed plate heat exchangers.

Reassembly

Begin reassembly by verifying that all plates are oriented correctly according to the manufacturer's flow pattern diagram. Carefully slide each plate onto the carrying bar, ensuring proper alignment with the guide grooves. Install new gaskets if the old ones show wear or compression set. Tighten the compression bolts gradually in a crisscross pattern to achieve uniform plate compression. The final tightening torque should follow the specifications provided by the heat exchanger manufacturer. For welded plate variants, see our TP welded plate heat exchanger for assembly guidelines.

Leak Testing

Once reassembled, conduct a hydrostatic pressure test to verify the integrity of the plate pack and gasket seals. Pressurize the system to 1.5 times the maximum working pressure while monitoring for any pressure drop over a 30-minute period. Inspect all gasket joints and nozzle connections for visible leaks. If a leak is detected, depressurize the system, retorque the bolts, and repeat the test. For high-pressure applications, consider using a helium leak detection method. Explore our HT Bloc welded plate heat exchanger for advanced leak testing protocols.

Summary of Key Steps

A methodical approach ensures heat exchanger performance and longevity. The process begins with thorough pre‑operational inspection and safety preparations, followed by proper dismantling and isolation of the unit. Selecting the correct cleaning agents and methods is critical to avoid plate damage. Mechanical scrubbing and rinsing of each plate removes deposits without abrasion. Finally, post‑cleaning inspection, careful reassembly, and leak testing confirm system integrity before restart.

Phase Key Action
1. Preparation Inspect system, lockout/tagout, verify isolation, and wear PPE.
2. Dismantling Remove end covers, carefully separate plates, and mark order.
3. Cleaning Apply compatible chemical or water‑based agent; avoid chlorides.
4. Scrubbing Use soft brush or non‑abrasive pad; rinse thoroughly with fresh water.
5. Reassembly Inspect gaskets, tighten to spec, perform hydrostatic leak test.

Conclusion: Adhering to these sequenced steps — from safety checks through final leak testing — minimizes downtime, prevents cross‑contamination, and restores thermal efficiency. Regular implementation of this procedure extends equipment life and reduces operational risk.

What Are the Key Steps in a Proper Heat Exchanger Plate Cleaning Procedure?
The key steps include pre-operational inspection and safety preparations, dismantling and isolating the heat exchanger, selecting appropriate cleaning agents and methods, mechanical scrubbing and rinsing of individual plates, and post-cleaning inspection, reassembly, and leak testing.
Pre-Operational Inspection and Safety Preparations Before Cleaning
Before cleaning, ensure all energy sources are locked out, verify pressure has been released, check for residual chemicals, and confirm proper ventilation and personal protective equipment are in place.
Dismantling and Isolating the Heat Exchanger for Access
Carefully remove end plates and gaskets, label all components for reassembly, and isolate the unit from piping systems to allow full access to the plate pack for cleaning.
Selection and Application of Appropriate Cleaning Agents and Methods
Choose cleaning agents based on fouling type (e.g., alkaline for organic deposits, acid for scale), apply at recommended concentrations and temperatures, and use circulation or soak methods as needed.
Mechanical Scrubbing and Rinsing of Individual Plates
Use soft brushes or non-abrasive pads to scrub each plate surface, paying attention to corners and gasket grooves, then rinse thoroughly with clean water to remove all cleaning residues.
Post-Cleaning Inspection, Reassembly, and Leak Testing
Inspect plates for damage or wear, replace gaskets if necessary, reassemble the heat exchanger following torque specifications, and perform a pressure leak test to ensure integrity before returning to service.

Related Products

We provide you with comprehensive foreign trade solutions to help enterprises achieve global development

Custom-Engineered Plate Air Preheaters

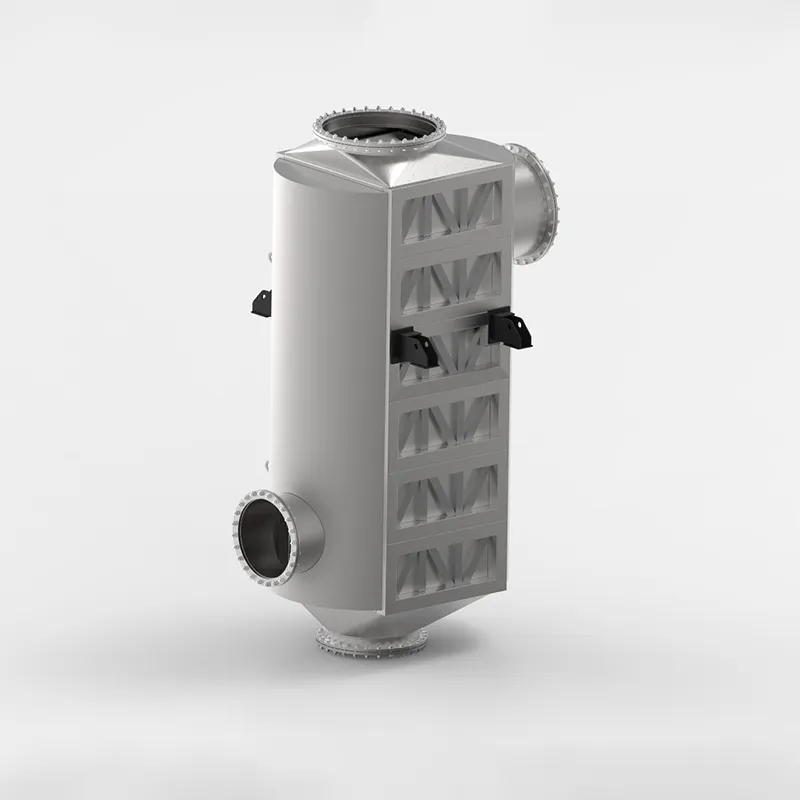
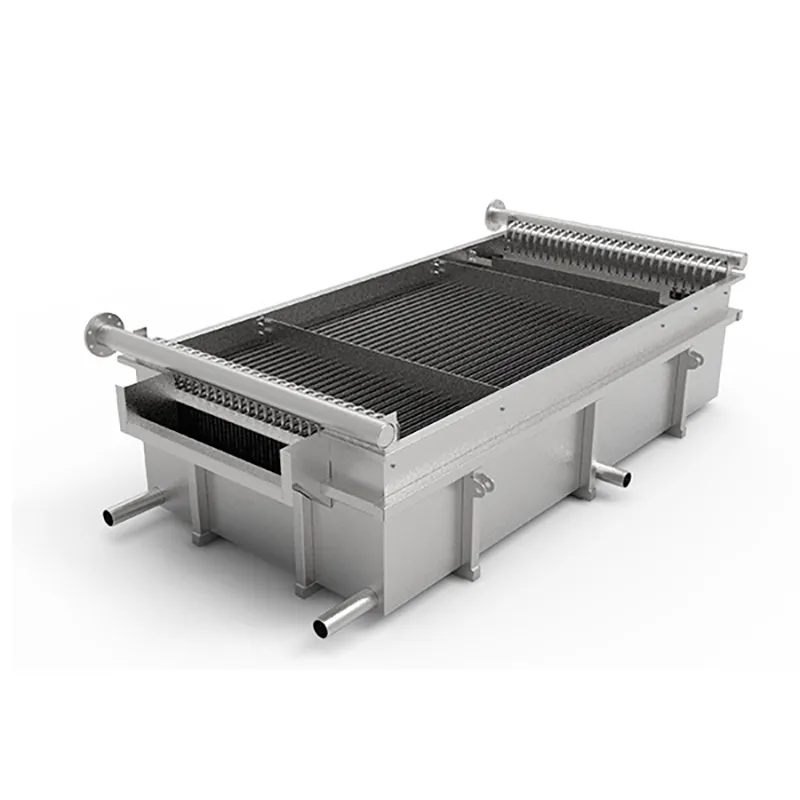
Industrial furnace and boiler exhaust gases carry vast amounts of unutilized thermal energy. The SHPHE custom Plate Air Preheater (PAPH) is target-engineered to intercept this high-temperature flue gas, recovering valuable waste heat and transferring it directly back to incoming combustion air or process gas streams. By substantially elevating the temperature of your flame feed, our custom systems optimize combustion thermodynamics, deliver massive fuel savings, and significantly reduce industrial carbon and emissions footprints. Built to withstand severe flue-gas environments, SHPHE PAPH systems serve as the premier choice for modern, energy-intensive plants prioritizing decarb compliance and maximum thermal efficiency.

Heat Exchangers

Custom-Engineered Gasketed Plate Heat Exchangers

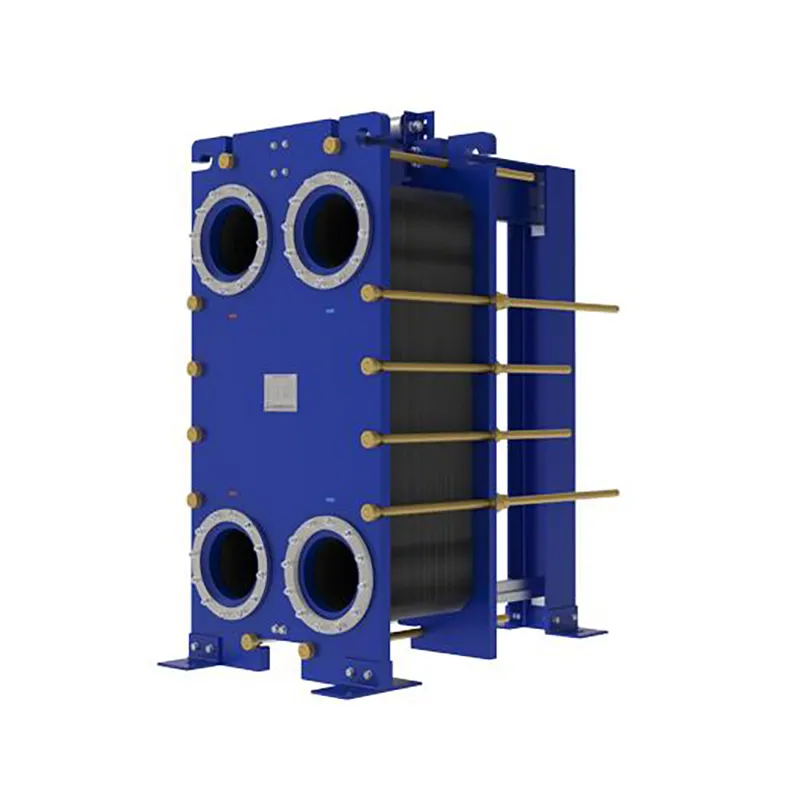
Since the invention of the plate heat exchanger (PHE) in 1923, thermal technology has evolved from standard food-grade processing to highly complex industrial operations. At SHPHE, we take this classic, versatile design and transform it into highly bespoke heat transfer solutions tailored to your unique process fluids and thermal loads. While traditional gasketed PHEs offer high efficiency and compact footprints, SHPHE optimizes plate corrugations, metallurgy, and sealing systems to handle your specific chemical, HVAC, or energy recovery parameters. Our custom-engineered gasketed plate heat exchangers provide outstanding scalability and ease of maintenance, serving as an indispensable asset for heavy industries—including oil and gas, metallurgy, and food processing—where uptime, energy recovery, and long-term sustainability are top priorities.

Heat Exchangers

Custom-Engineered Printed Circuit Heat Exchanger (PCHE)

The SHPHE Printed Circuit Heat Exchanger (PCHE) represents a paradigm shift in microchannel thermal management, meticulously engineered for the world's most critical and demanding industrial boundaries. Developed to surpass the physical limitations of conventional shell-and-tube designs in ultra-high-pressure environments, our custom PCHEs integrate advanced photochemical etching and solid-state diffusion bonding to provide unmatched safety, thermal efficiency, and integrity under extreme stress. Initially deployed within high-consequence sectors such as aerospace and nuclear power generation, PCHE technology has completely revolutionized high-density thermal processing. Today, SHPHE brings this breakthrough engineering to mainstream energy transitions—including LNG liquefaction, supercritical CO² power cycles, hydrocarbon processing, and high-pressure hydrogen systems—enabling plants to maximize energy recovery, ensure zero-leakage security, and significantly shrink environmental footprints.

Heat Exchangers

‌HT-Bloc Welded Plate Heat Exchanger

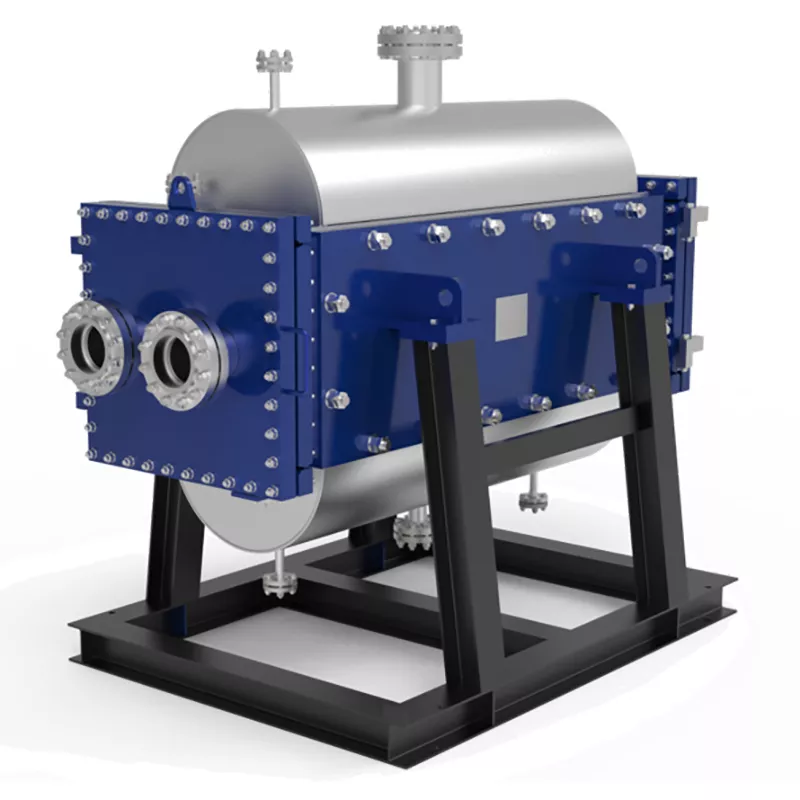
Custom-Engineered for Severe Process Demands. At SHPHE, we don't just supply equipment; we design tailored thermal solutions. Our HT-Bloc welded plate heat exchangers are custom-configured by our experienced engineers to overcome your specific industry challenges—whether handling high-viscosity media, extreme temperatures, or strict space constraints.

Heat Exchangers

Hot-Sale Products

Select the most popular foreign trade service products to meet your diverse needs

Heat Exchangers
Custom-Engineered Printed Circuit Heat Exchanger (PCHE)

Custom-Engineered Printed Circuit Heat Exchanger (PCHE)

The SHPHE Printed Circuit Heat Exchanger (PCHE) represents a paradigm shift in microchannel thermal management, meticulously engineered for the world's most critical and demanding industrial boundaries. Developed to surpass the physical limitations of conventional shell-and-tube designs in ultra-high-pressure environments, our custom PCHEs integrate advanced photochemical etching and solid-state diffusion bonding to provide unmatched safety, thermal efficiency, and integrity under extreme stress. Initially deployed within high-consequence sectors such as aerospace and nuclear power generation, PCHE technology has completely revolutionized high-density thermal processing. Today, SHPHE brings this breakthrough engineering to mainstream energy transitions—including LNG liquefaction, supercritical CO² power cycles, hydrocarbon processing, and high-pressure hydrogen systems—enabling plants to maximize energy recovery, ensure zero-leakage security, and significantly shrink environmental footprints.

Heat Exchangers
‌HT-Bloc Welded Plate Heat Exchanger

‌HT-Bloc Welded Plate Heat Exchanger

Custom-Engineered for Severe Process Demands. At SHPHE, we don't just supply equipment; we design tailored thermal solutions. Our HT-Bloc welded plate heat exchangers are custom-configured by our experienced engineers to overcome your specific industry challenges—whether handling high-viscosity media, extreme temperatures, or strict space constraints.

Heat Exchangers
Custom-Engineered Plate Air Preheaters

Custom-Engineered Plate Air Preheaters

Industrial furnace and boiler exhaust gases carry vast amounts of unutilized thermal energy. The SHPHE custom Plate Air Preheater (PAPH) is target-engineered to intercept this high-temperature flue gas, recovering valuable waste heat and transferring it directly back to incoming combustion air or process gas streams. By substantially elevating the temperature of your flame feed, our custom systems optimize combustion thermodynamics, deliver massive fuel savings, and significantly reduce industrial carbon and emissions footprints. Built to withstand severe flue-gas environments, SHPHE PAPH systems serve as the premier choice for modern, energy-intensive plants prioritizing decarb compliance and maximum thermal efficiency.

User Comments

Service Experience Sharing from Real Customers

5.0

We’ve been using this cleaning solution for our plate heat exchangers for about six months now. The difference is night and day—our thermal efficiency is back to spec, and we’re not having to tear down the unit every two weeks. The foaming action really gets into those tight channels. Just follow the dilution ratio and it works like a charm.

5.0

I was skeptical at first because we’ve tried so many ‘miracle’ cleaners that leave residue or damage the gaskets. This one is different. It removed the calcium carbonate buildup without pitting the titanium plates. Only reason I’m not giving 5 stars is because the instructions could be clearer about the contact time for heavy scaling. Still, it’s the best I’ve used in 12 years.

5.0

I clean heat exchangers on commercial boilers and chillers almost daily. This product cut my cleaning time in half compared to the acid-based stuff I used to haul around. No harsh fumes, no need for full PPE, and the plates come out looking brand new. My boss noticed the reduced downtime immediately. Definitely stocking this in my van.

5.0

We had a plate heat exchanger that was so fouled with organic sludge and mineral scale that it was nearly at 60% of original flow. After two soak-and-circulate cycles with this cleaner, we got back to 92%—no disassembly required. Saved us a full weekend shutdown. The guys on the floor even said it was easier to rinse than our old stuff. Highly recommend for dairy and beverage plants.

SHPHE has complete quality assurance system from design, manufacturing, inspection and delivery. It is certified with ISO9001, ISO14001, OHSAS18001 and hold ASME U Certificate.
© 2005-2026 Shanghai Heat Transfer - Privacy Policy